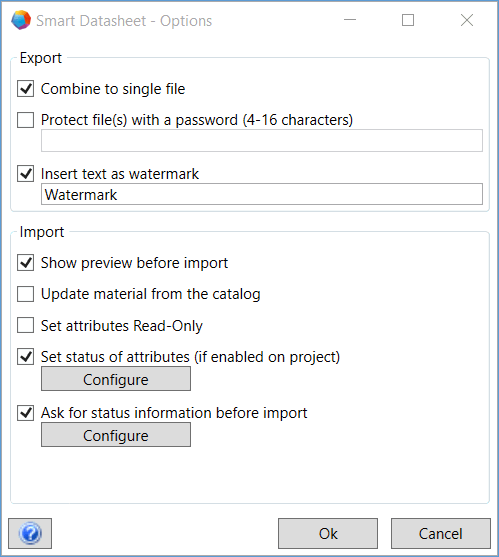
4.1 Import Options
|
Import Option |
checked |
Meaning |
|
Show preview before import |
|
After clicking Apply or Ok, all changed data of the selected PDF file(s) will be imported direct into the project. Faulty data will not be imported. |
|
|
In the preview, only the data that was changed compared to the project will be displayed. Faulty data will be highlighted in red and may not be imported. If the PDF file contains several data sheets, the changed data will be summarized per data sheet. Starting from the preview, the data may be imported stepwise via Apply during the import. The preview will be empty if no data were changed in the PDF files. |
|
|
Update material from the catalog |
|
If the material number of an object is changed by the data import, the object data will be updated with the respective catalog data after the import. If an error occurs during the update, an error message will be displayed and an error message will be stored in the Messages folder Smart Datasheet. |
|
Set attributes Read-Only |
|
For all attributes into which values will be imported, the property Read-Only will be activated after the data import. |
|
Set status of attributes (if enabled on project) |
|
If attribute statuses are defined in the general project properties, you may define here which status is to be allocated to the imported values. The imported attribute values will then be displayed in the project with the respective color coding. 1. Click Configure. The defined attribute statuses will be displayed.
2. Click the row of the status you want to allocate. The selected status will be highlighted in light gray. 3. Click Ok to allocate the status. The selection of the attribute status will be saved in the assistant. |
|
Ask for status information before import |
|
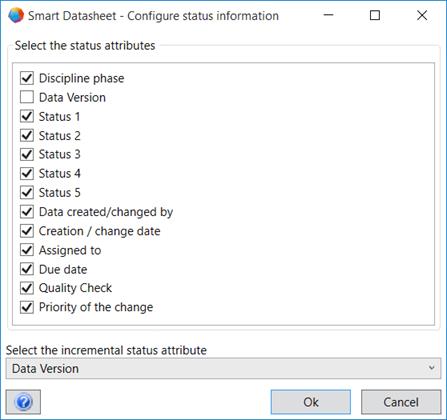
On importing data, status information may be created for changed data sets which will then be stored at the changed objects in the Status Information tab. 1. Click Configure to open the Smart Datasheet - Configure Status Information dialog.
2. Select the status attributes of your choice. 3. Select the incremental status attribute. The value of this attribute will be incremented with each import. The attribute selected here must not be checked in the above-mentioned list. 4. Click Ok to confirm the selection of the status attributes. If the tab Status Information or the status attributes at the changed object are not available, they will be created. Once the import is started, the dialog Smart Datasheet - Status information will be opened.
Enter the attribute values of your choice. Clicking Ok starts the import. At the changed objects, these entered values will be saved.
|
|
|
The status attributes (Discipline phase, Status 2, etc.) will be emptied if the object is copied within the project or between projectscross-project! |