1.1 Advanced CAD Import
Prerequisites
The sheet template CAD Import has to be available within the project under Templates/Sheets/Favorites. If this is not the case, it may be copied from a newly created standard project.
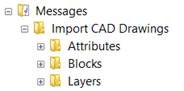
Indications and Messages
Messages created during the import process are stored in the Messages folder of the project.
To run the assistant
3. In the Engineering Base Explorer, select the Documents folder, any of its subfolders or the Projects folder as import destination.
4. On the shortcut menu, click Advanced CAD Import.
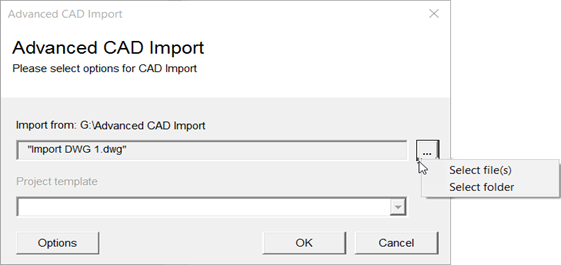
5. Click the button  below the Import from: box to select the file to be imported or the directory from where you want to import all DXF or DWG files.
If you have started the assistant on the Projects folder, you can only select a directory.
6. Select a Project template. The project templates of the database are offered for selection. The selection of project templates is only active if you have started the assistant on the Projects folder.
7. Click Options to change the standard import settings.
|
Options |
Standard Settings |
|
General |
The settings for the CAD import are stored in the database templates. |
|
Graphics |
Scale 1 = 1, default line width = 0.35 (mm) The font used in the CAD drawing is converted to "Arial" in Visio. In the imported drawing, the Visio layers correspond with the layers in the CAD drawing and the colors correspond with the colors of the CAD drawing. |
|
Drawings |
For each CAD drawing, a sheet based on the default sheet template CAD Import is created. In doing so, the drawing size set in the CAD system is used. |
|
Blocks and Attributes |
The blocks of the CAD drawing are converted to Visio shapes. No items are created in the Engineering Base database. |
8. Click OK to start the import.
The drawing or the drawings of the selected directory are imported into the selected Engineering Base folder.